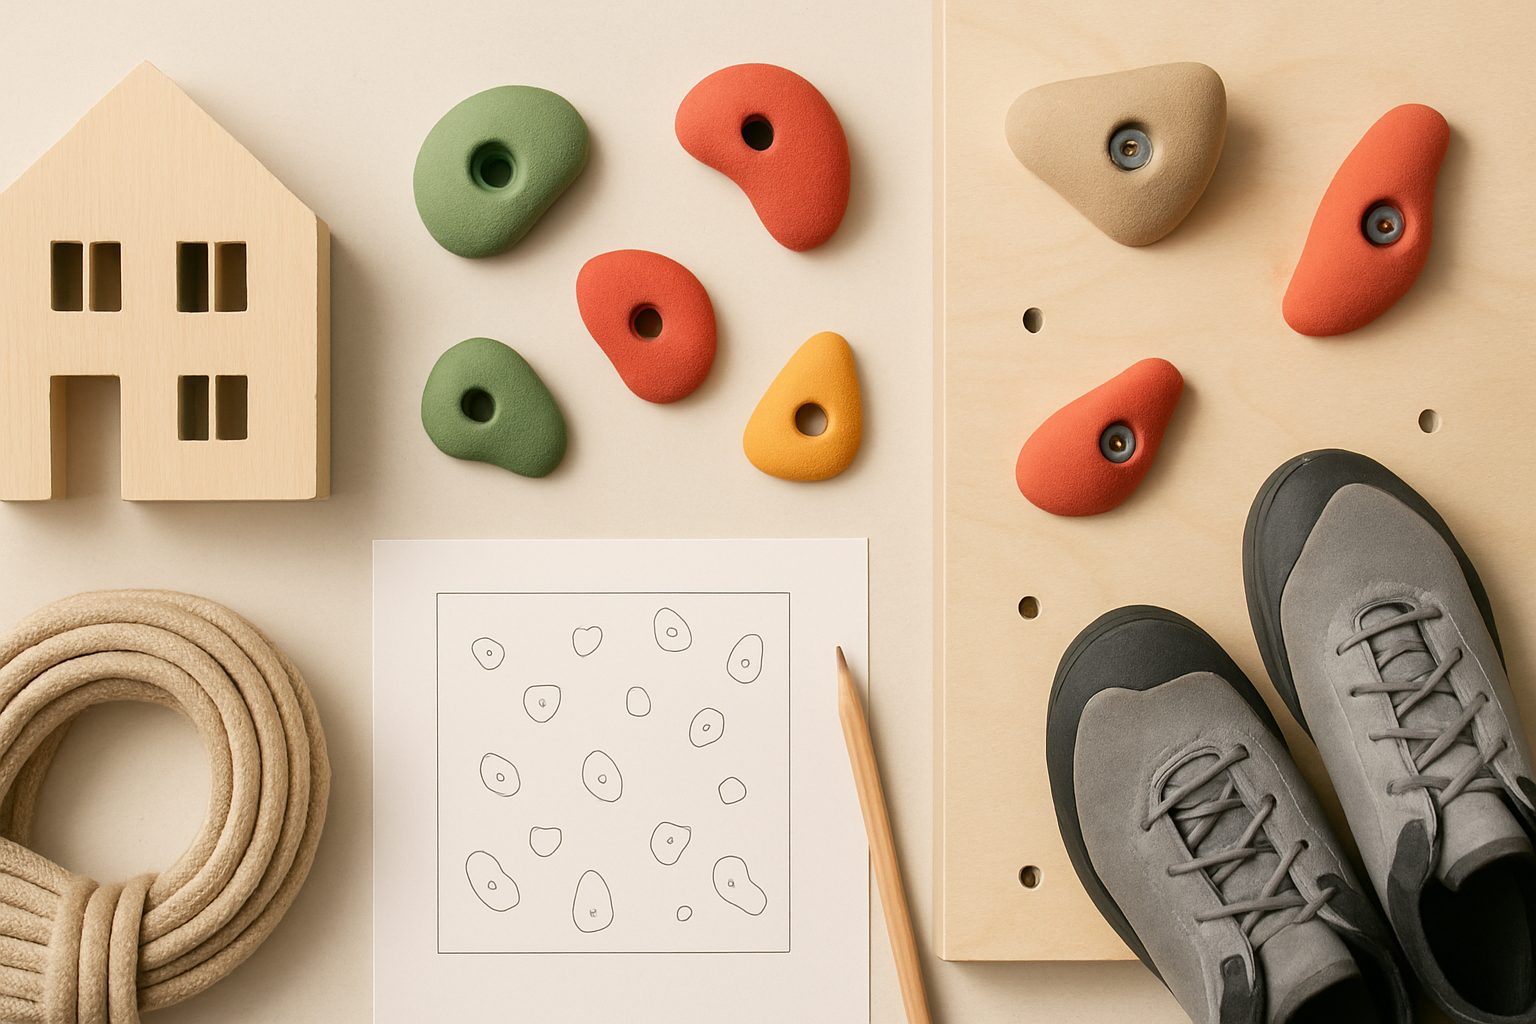
Home Climbing Wall Lighting & Accessories UK: Everything You Need Beyond the Holds
Getting a home climbing wall up and running is just the start. Once the holds are mounted and you're training regularly, you'll quickly discover that the bare setup leaves gaps—literally and practically. Poor lighting creates dead zones and hidden angles, inadequate storage eats into your space, and missing accessories like chalk buckets or pull-up bars mean you're leaving training gains on the table. This guide covers the essentials to transform your climbing wall from basic setup to genuinely functional training space.
Why Lighting Matters More Than You'd Expect
Most garages and spare rooms have overhead ceiling lights that cast shadows across climbing surfaces. These aren't just annoying—they genuinely affect how you climb. Shadows hide hold edges, distort depth perception, and force your eyes to work harder, leading to quicker fatigue. Training in uneven light also increases injury risk, since you can't see hand placement clearly or spot volume edges as you move.
Proper lighting should eliminate shadows directly on the wall and provide even illumination across the entire climbing surface. It's not about brightness (very bright lights often create glare), it's about consistency and positioning.
LED Strip Lighting: The Practical Standard
LED strips are the go-to solution for UK home climbers, and for good reason. They're affordable, easy to install, consume minimal power, and run cool enough to leave on for hours without concern. Most climbers use 5-metre strips in 4000K–5000K colour temperature (neutral white to daylight—this range mimics natural light and shows hold colour accurately).
Placement strategy: Mount strips horizontally along the edges of the wall—typically at the top (angled slightly downward to avoid glare) and along side edges at mid-height. This creates diffuse light across the surface rather than harsh shadows. If you have a tall wall, adding a strip at mid-height reduces the shadow zone from an overhanging section.
Installation tips: Use aluminium channels (available on Amazon UK and climbing retailers) rather than bare strips—they diffuse light more evenly, protect the strip from damage, and look tidier. Avoid mounting directly to wooden structures if possible; run channels on the wall surface itself.
Pros: Low cost, low heat, simple wiring, easy to add strips incrementally as your wall grows.
Cons: Strips can feel less "climber-like" than flashy RGB setups, though frankly, coloured lighting is fun once but impractical for training. Power cable management matters—trailing wires are hazard if not properly routed.
Chalk Buckets and Containment
Chalk is essential for grip, but loose chalk powder spreads everywhere. A dedicated chalk bucket mounted near the base of your wall keeps powder contained and within arm's reach during your session.
Look for buckets with:
- A secure hook or carabiner loop (not just a handle—you need to hang it)
- Drainage holes in the base (moisture pooling breeds mildew)
- Rough interior texture to help powder stick to your fingers
- At least 1 litre capacity (smaller buckets need constant refilling)
Position the bucket so it's easy to reach between attempts without taking steps away from the wall. Wall-mounted brackets work better than floor buckets if you have the space.
Budget expectation: £8–20 for a functional climbing-specific bucket. Generic containers are cheaper but often lack drainage.
Volume Storage and Space Efficiency
Home walls accumulate training volumes quickly, and storing them efficiently keeps your space functional. Volumes are bulky but valuable; stacking them carelessly either takes up vast floor space or risks damaging the foam.
Solutions:
- Wall-mounted racks: Horizontal bars running along the base or side of the wall, allowing you to slot volumes upright. Takes up vertical space, not floor space.
- Lean-to storage: A simple frame angled against the wall beside your climbing surface. Volumes slot in at an angle. DIY-friendly and cheap if you build it yourself.
- Timber shelving: Sturdy industrial shelving (from suppliers like Screwfix or Toolstation) holds multiple volumes per shelf. Overkill for small walls but practical if you have dozens.
Most climbers in smaller spaces prefer wall-mounted bars—they're visible, quick to access, and don't intrude into your training area.
Pull-Up Bar Add-Ons
If your climbing wall is low or overhanging-heavy, a pull-up bar mounted above or beside the wall is a valuable addition. It provides:
- A strength training tool for antagonist muscle groups (shoulders, lats)
- A recruitment method for warm-ups
- A way to train lock-off strength without climbing
Mount it securely to a wooden stud or use heavy-duty wall anchors. Position it at least 60cm from the climbing wall face so you have clearance to kip or swing without hitting holds.
Important: Test your mounting point—a failing pull-up bar falling is a genuine hazard. Overkill on the fasteners is better than regret.
Other Useful Additions
Mirrors: A small mirror (roughly 60×80cm) angled opposite your wall is surprisingly useful for checking form, hand placement, and foot technique. Most climbers overlook this until they install one.
Spray bottle and chalk: A spray bottle near the base lets you lightly dampen your hands (reduces overuse of chalk) for longer sessions. Position it where you won't forget it mid-attempt.
Wall padding: If your wall is on a shared wall or near living space, closed-cell foam panels behind or beside the wall absorb impact noise and dust.
Putting It Together
Start with lighting and chalk containment—these improve every session immediately. Add volume storage once you have three or more volumes. Pull-up bars and mirrors are worthwhile but less critical than the basics.
Budget roughly £100–200 for a complete lighting and accessories setup (strips, channels, bucket, basic storage) if you're shopping UK retailers and Amazon. Spread purchases over a few months if needed; the wall functions without these, but functions well with them.
More options
- Climbing Hold Sets (Assorted Packs) (Amazon UK)
- Hangboards & Fingerboards (Amazon UK)
- Bouldering Crash Mats & Pads (Amazon UK)
- Home Climbing Wall Kits & Panel Systems (Amazon UK)
- T-Nuts, Bolts & Wall Hardware (Amazon UK)